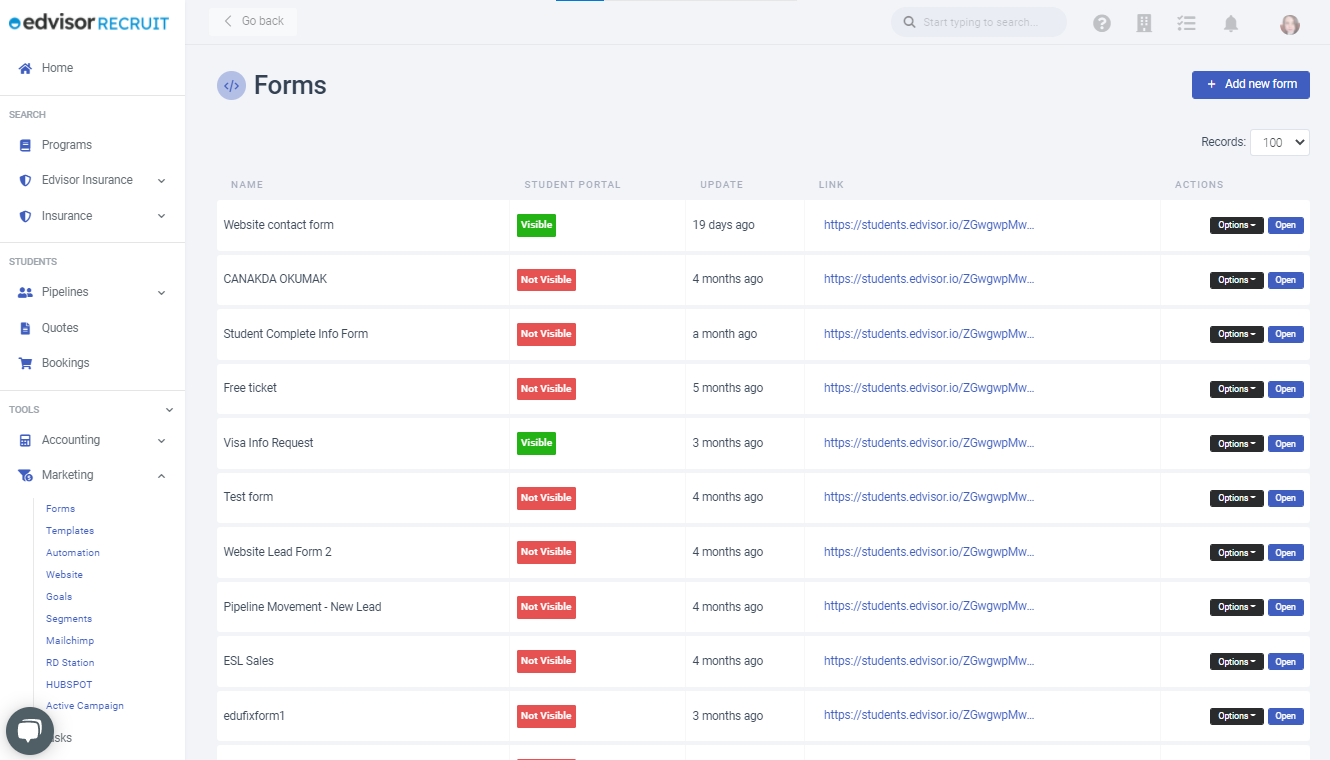
Forms
Collect any required data from your clients by creating forms that will send the info directly to the 'Student' profiles in Recruit. You can apply forms (and send to your students) in three ways:
- Direct Link (live URL) to the form - this uses the Student Portal functionality
- Student Portal - where the student can access and submit all the forms you've created for them.
- Embed on your website - copy/paste the embed code provided for each form directly on your website.
When creating/editing forms, pay particular attention to these important sections
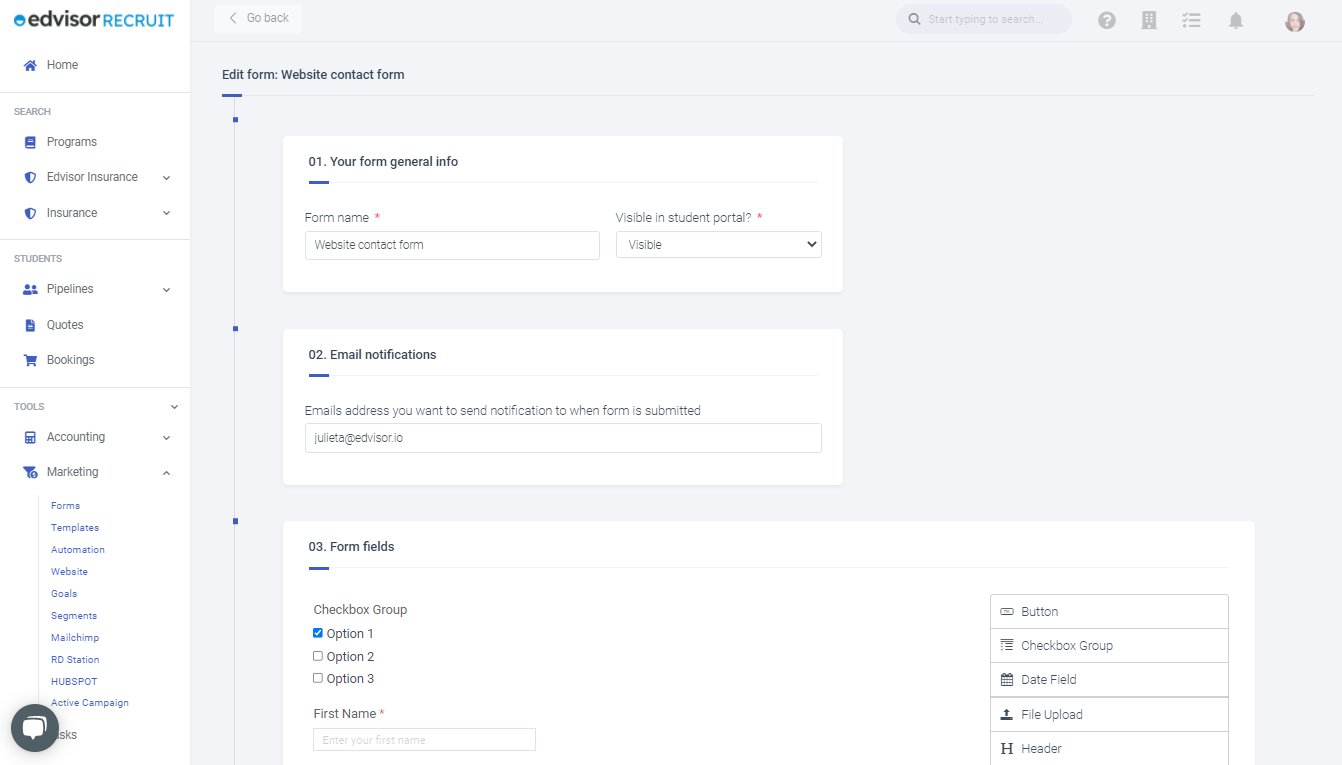
Email Notifications
Indicate which emails should be notified when this form is completed, by any student. This email does not have to be associated with an existing user on your account.
Form Fields
You can create new custom fields for your forms, or map the form fields to the default ones present in Student Profiles. To do this, in the 'name' field, ensure you are using the system values that match with what you want to record.
A complete list of field 'name' ID's that can be mapped can be found here: Form Field ID's. Below are a list of some of the most commonly used ones.
- Phone: phone;
- Phone 2: phone2;
- First name: first-name;
- Middle name: middle-name;
- Last name: last-name;
- Email: email;
- Address: address;
- Goal: goal;
- Nationality: country;
- Comments: remarks;
- Referral source: from-where;
- Referral details: referral;
- Status (Onshore/Offshore): status;
- Birth date: birthday;
- Gender: gender;
- Heat level: heat-level.
- Visa expire date: visas---visa-expire-date
- Arrival dates: arrival-dates---departure-date
- Arrival dates: arrival-dates---arrival-dates---arrival-date
- Arrival dates: arrival-dates---from
- Arrival dates: arrival-dates---to
- Arrival dates: arrival-dates---booking-ref
- Arrival dates: arrival-dates---arrival-time
- Arrival dates: arrival-dates---flight-number
- Passport country: passports---country
- Passport issue date: passports---passport-issue-date
- Passport expiry date: passports---passport-expire-date
- Passports number: passports---passport-number
- GPA: education-details--gpa
When including dependent information:
- Dependent name: linkedProfiles---student-name
- Dependent type (parents/siblings/partner/daughter/son/custodian/other): linkedProfiles---type
- Dependent comments: linkedProfiles---comments
- Dependent email: linkedProfiles---email
- Dependent phone: linkedProfiles---phone
- Dependent birthdate: linkedProfiles---birthday
- Dependent gender: linkedProfiles---gender
- Dependent passport number: linkedProfiles---passport-number
- Dependent occupation: linkedProfiles---occupation
Any form fields that are created and do not correspond with any default profile fields, will appear in the profile view section alongside any pipeline custom fields that have been created. If any such fields do not have any value, they will not appear in the profile at all.
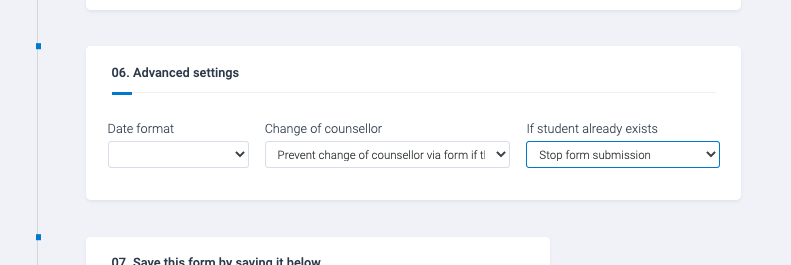
Advanced Settings
An important point to note in the Advanced Settings, is what to do when a student already exists in your system. You can select to (a) overwrite the existing data, or (b) stop the submission. The indication of a duplicated student will be according to your 'Agency Settings' (email or birthday or both) - typically in most cases this is email unless otherwise toggled.
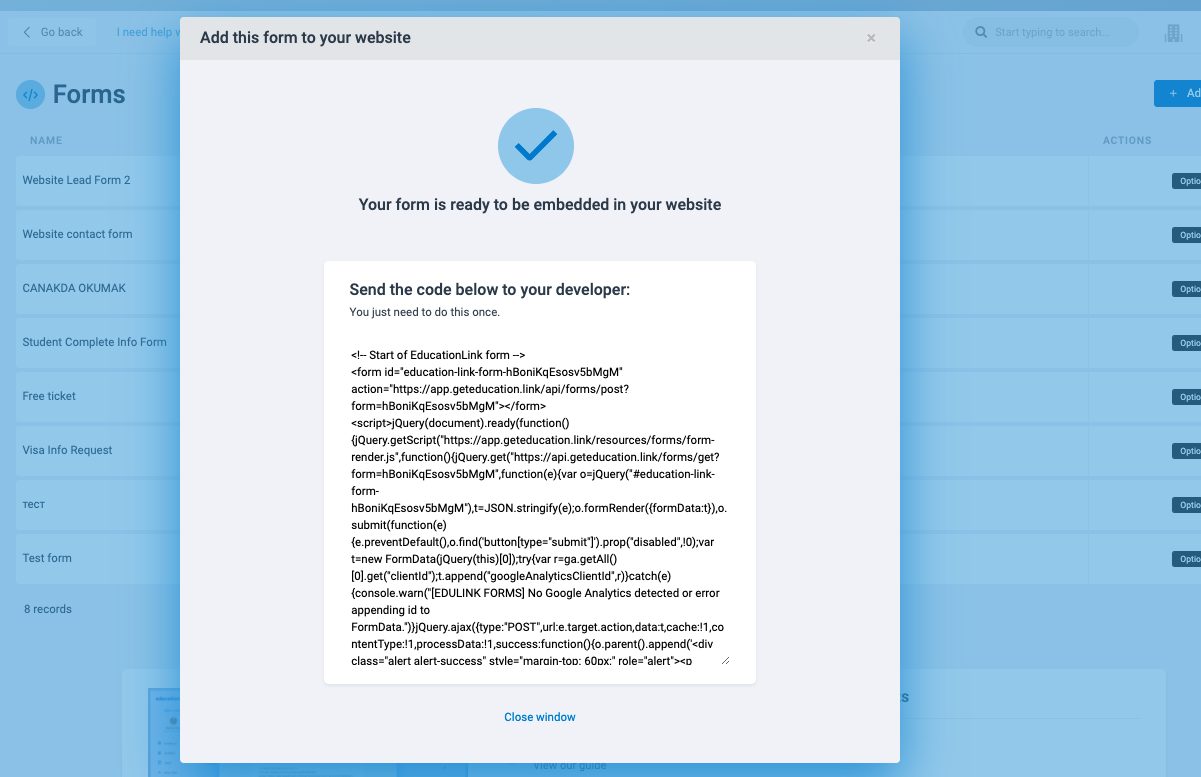
Website Embed
You can embed any form that you create onto your website*. When viewing all of your forms, pick one and click 'Options' to see a submenu.
Then select 'Add to my website'. An embed code will be displayed. From here, you or your site manager can paste this code anywhere on your website to display the form widget, and voila! Any new submission go directly into your Recruit account.
To embed the form on your website, you may require the help of a developer. Your website developers will need only this "embed code" to integrate and customize the form in your website, you don't need to provide them access to Recruit.
Every form you create has a different embed link. If you are having troubles trying to embed your forms, there is one important thing to note:
Form Post-Submission Message
Prior to embedding a form (pasting the code snippet on your website), you can modify its code to customize the post-submission message the student will see when the form is completed.
Using standard html, you can either modify the text that appears, or insert a hyperlink. Please note that modifications here are outside of Edvisor's official code, and info here is for guidance only. You are responsible for your own form modifications.
When viewing your website embed code for each form, look for this snippet: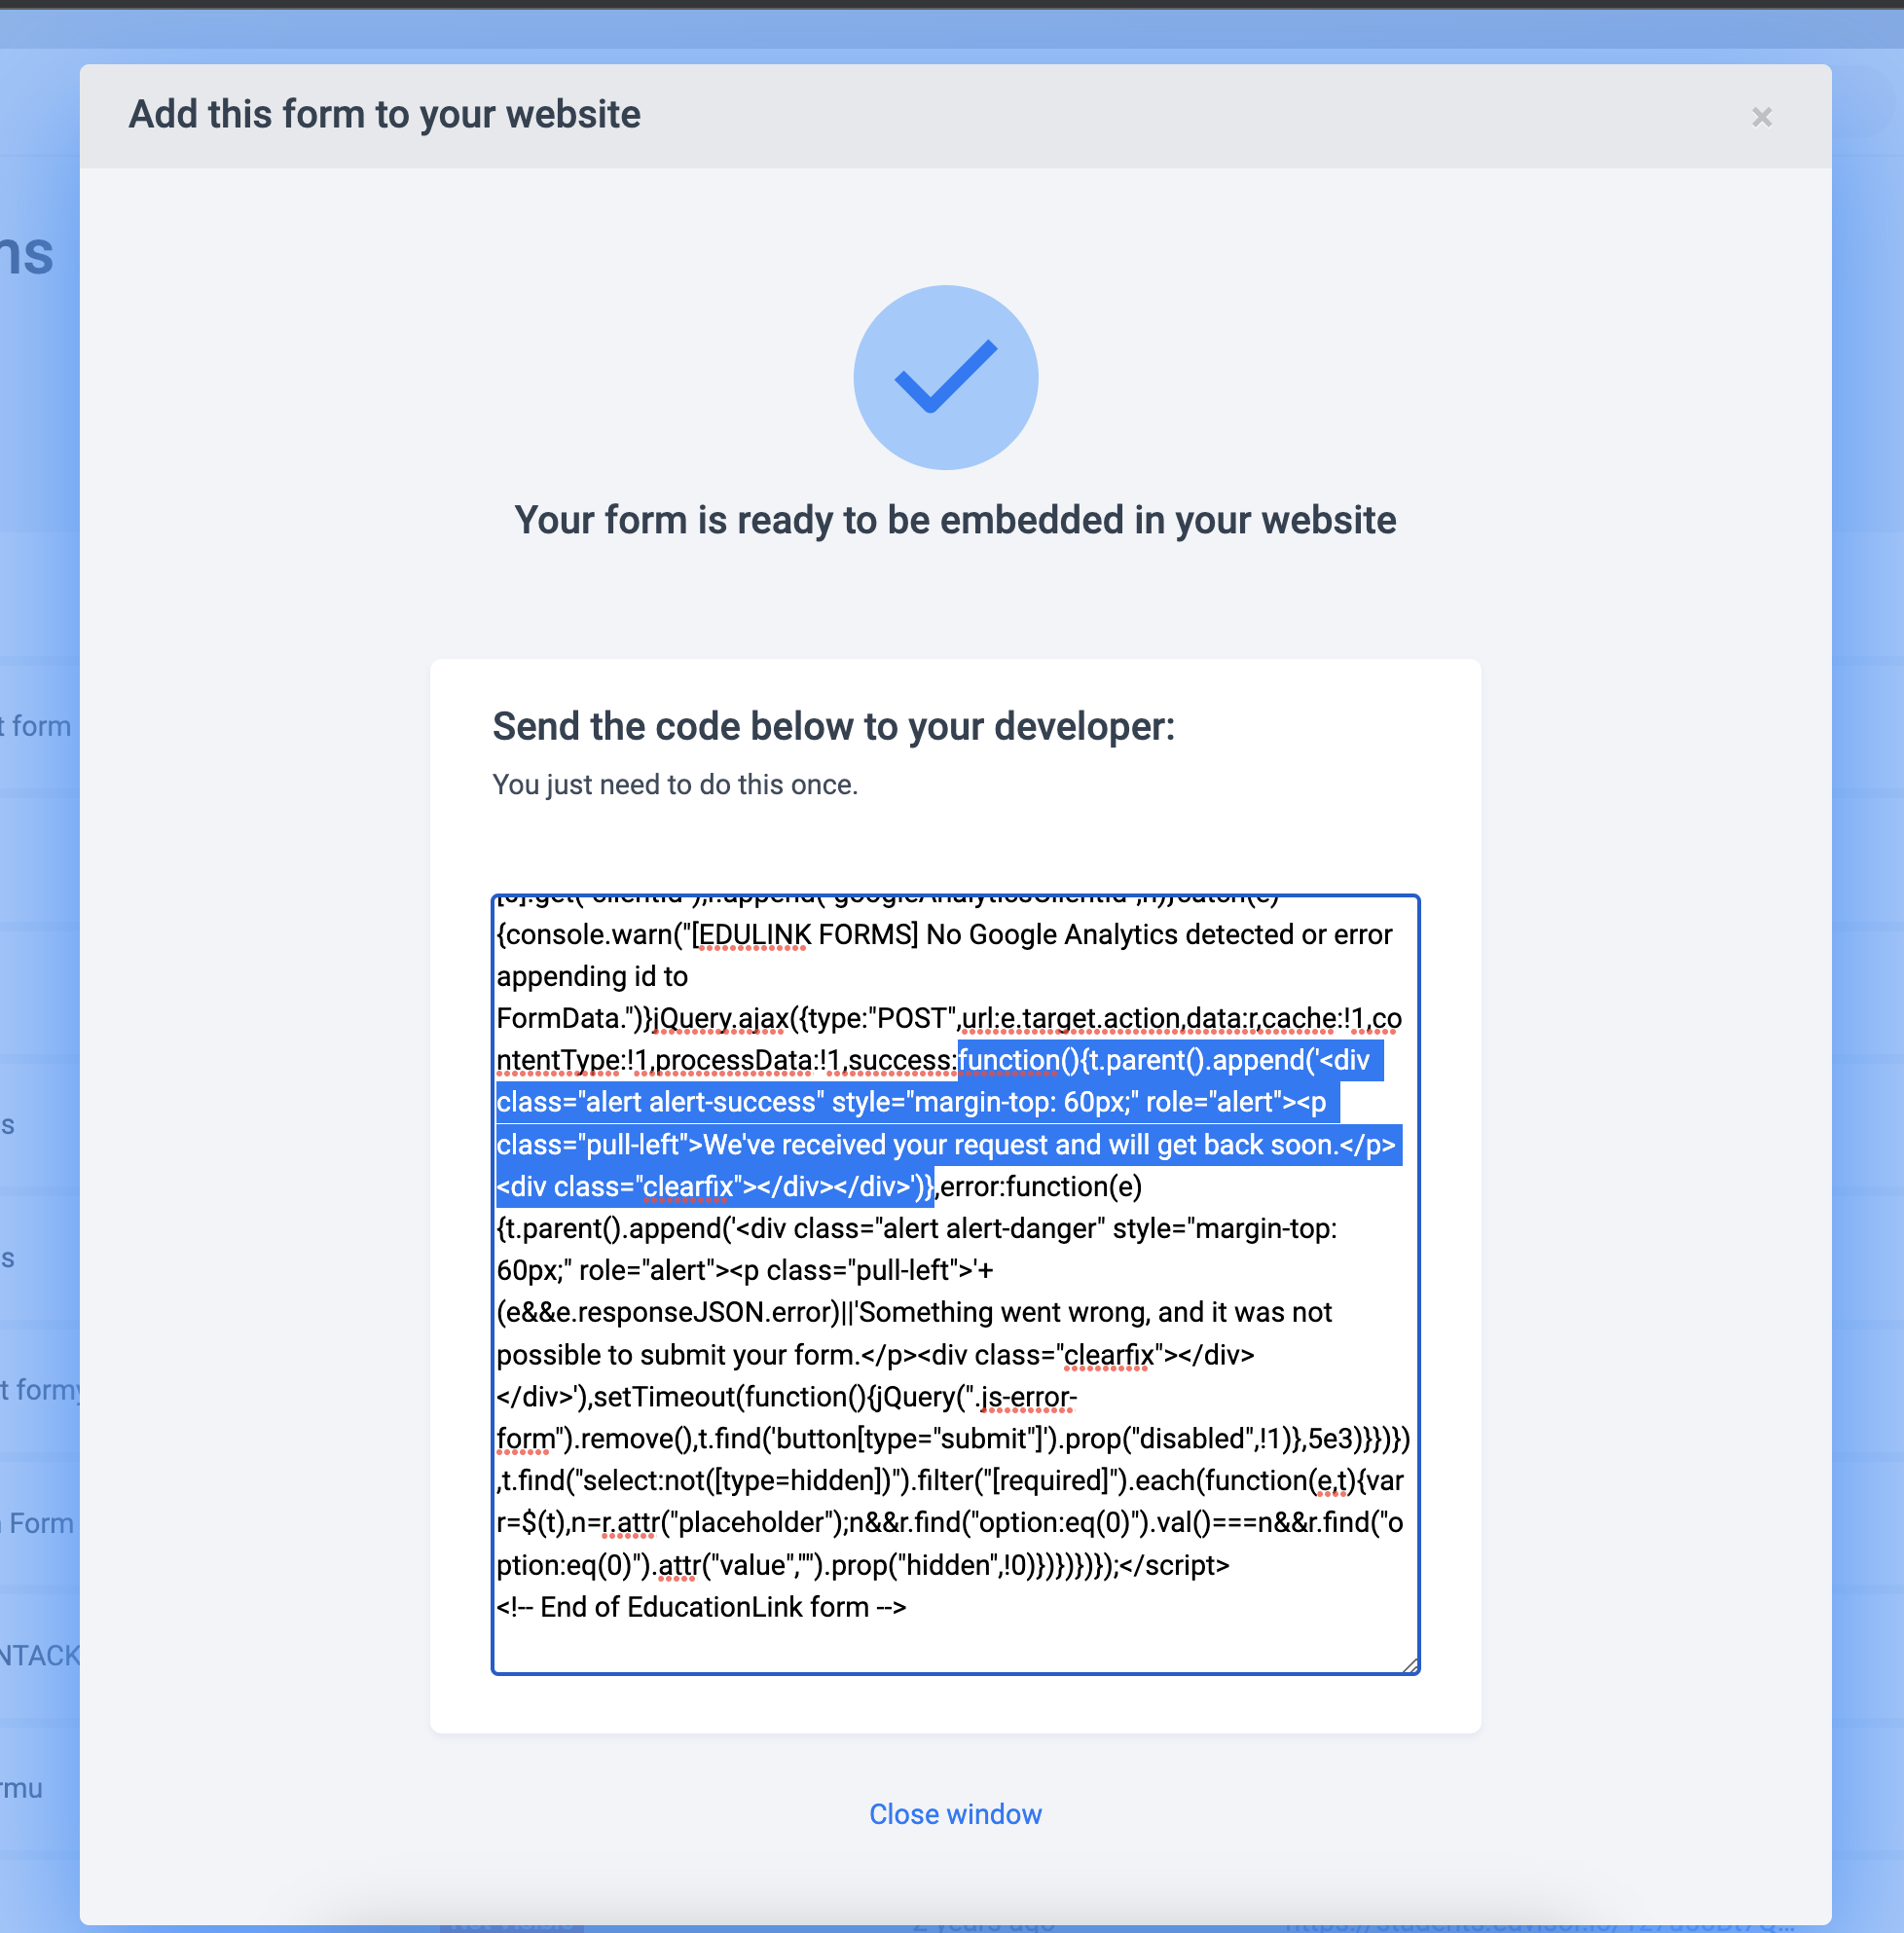
Search for the part of the code highlighted above and replace it with your own message (replace text), or insert a hyperlink.
function(){t.parent().append('<div class="alert alert-success" style="margin-top: 60px;" role="alert"><p class="pull-left">We've received your request and will get back soon.</p><div class="clearfix"></div></div>')}
Make these changes at your own risk. The modifications to this embed form may cause the form to break and Edvisor is not responsible for any code modified and, will be unable to provide support to troubleshoot your modifications. For stability, we recommend to use the default embed code as provided.
Troubleshooting
*Embed script requires jQuery and FormData in your website/browser to work.
Geek talk: If you don't want to have these dependencies you can create your own embed script. Our default CSS classes are based on Bootstrap 3/4, we don't include any default CSS styles. Finally, if you have multiple scripts on window.onload event, you may want to change how Recruit loads the form to $(document).ready(). Lastly, if you collect consent for Cookies and data processing elsewhere you may need to update the form data manually and/or prevent the form to submit the Google Analytics ID to Recruit's servers.
If your site does not support jQuery, you can try to add this script to the embed code to try to make it work:
integrity="sha256-H+K7U5CnXl1h5ywQfKtSj8PCmoN9aaq30gDh27Xc0jk="
crossorigin="anonymous">
</script>
NEXT: Edvisor Recruit: Creating templates and adding samples for requested documents