How to translate your EdCommerce sites
Learn how to translate everything on your EdCommerce site, from pages to course details, step by step.
EdCommerce translations enable you to convert your content into multiple languages.
In this article, we will show you how to translate various types of content:
And
Before you start translating your entire EdCommerce site, it’s important to first choose the languages you want to offer.
After that, go through your site, one page and one section at a time, translating all the content. This careful approach not only makes your site easier and more enjoyable for your students, but it also helps increase engagement and can lead to more successful interactions.
How to translate your Home Page
🔹Go to yourEdCommerce Settings > Ecommerce > Search
This section allows you to edit your entire home page, including its translations.
💡 You can create distinct home pages for each language, showcasing tailored products and institutions. Simply select the language and the theme you'd like to use for that market’s EdCommerce site.

How to translate your Footer
🔹 Go to EdCommerce Settings > Ecommerce > Footer
This section allows you to customize the information in your footer.
To display your footer in different languages, simply select the language you want for your page and add the description in the chosen language.

How to translate your Forms
🔹 Go to yourEdCommerce Settings > Ecommerce > Forms
You'll see a list of all your created forms. Hover over the three dots icon and select "Edit Lead Form" or "Edit Booking form"

Here, you'll be able to translate the terms and conditions, privacy policy, and notes.
The form fields are automatically translated to maintain consistency between Edvisor and EdCommerce.

⚠️ You'll need to repeat this process for each the lead and booking forms, across all the forms you have created.
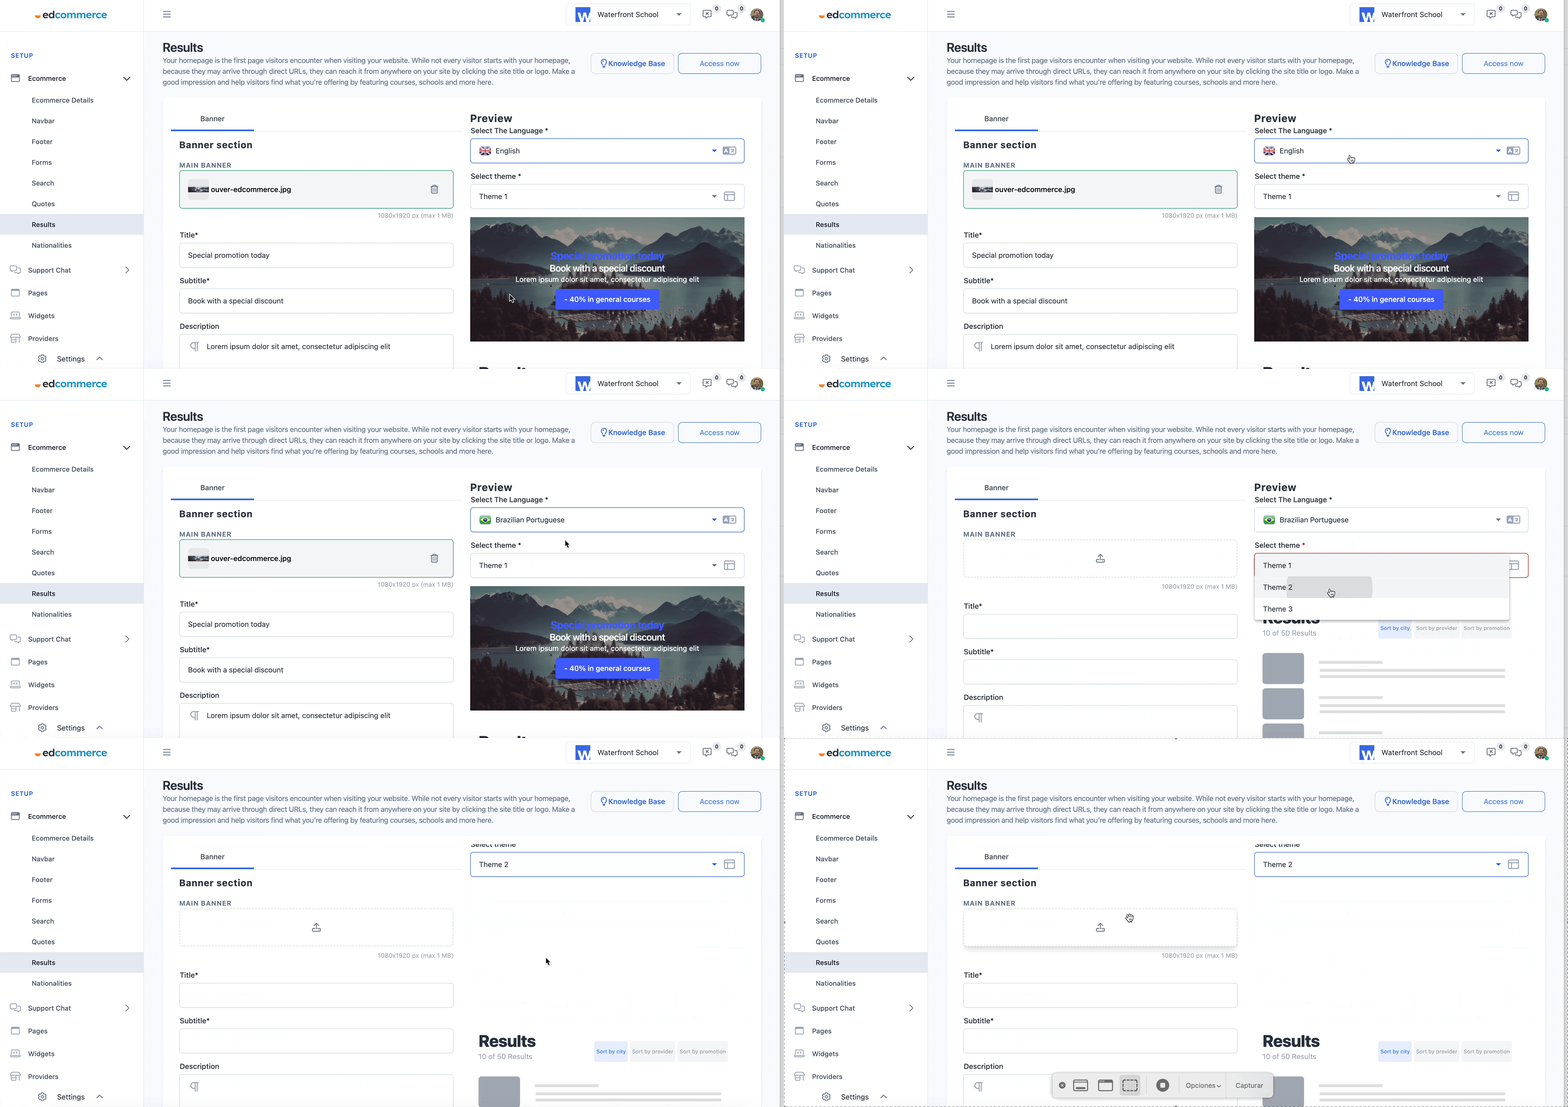
How to translate your Search Results
🔹 Go to your EdCommerce Settings > Ecommerce > Results
This section allows you to edit and personalize your search results pages.
You can tailor the search results design to each language, changing not only the written content but also the layout within it.

💡 Pro Tip
Add a promotional banner to this section and customize it for each language!
How to translate EdCommerce Pages
By adding translations, you can create one single landing page that automatically updates content based on the user's language selection. This means that students will see different content and educational programs just by switching languages.
🔹 Go to Settings > Pages
Hover over the three dots icon next to the page you want to edit and select 'Edit'.
Then, select the language and add your translations!

How to translate your Providers' information
🔹 Go to Edcommerce Settings > Providers
Click on the three dots icon next to the provider you want to edit and select 'Landing Page Configuration.'

Within this section, you can edit and configure the information pages for each of your connected providers. You can translate their names and descriptions into different languages.
ℹ️ If the provider already includes translations in their Edvisor profile, they will be reflected here. You can skip this step unless you want to customize the information.

How to translate your Programs' information
🔹 Go to Settings > Providers > three dots icon > Edit Card > three dots icon > Edit Program
In addition to customizing and translating provider information, you can similarly manage the translation of course information.
You can translate course names, PDF documents, and descriptions.

How to visualize your translations
After completing your translations, you can view the final results directly on your live EdCommerce site.
Return to your dashboard by clicking on the user icon in the top right corner of the page > Spaces. Then, select the site you have been working on and click 'Access Now'.
Switch between your different languages and navigate to the specific section where your translations are applied to see them in action.
💡 If you work with students from various markets, it is crucial to translate and personalize your EdCommerce sites.
Make sure to translate each section mentioned in this article, including all forms, providers, and courses, to maintain consistency across the entire site and prevent a negative impression.